Anyone who knows me should be well aware of the fact that I am a computer enthusiast. I often go beyond reason and the trenches of sanity whenever it comes to building a rig. I must also profess that I’m kind of an ego maniac, in which I take a bit of pride, and grin evilly when someone checks my gadget out and go WOAH!
So this got me thinking, lets put this rig plan into motion. When you have a computer, what is the first thing that someone notices? Obviously it’s the case and the bling-bling that comes with it. Of course if some of your friends are actually computer literate, they’d be like, what’s under the hood of that baby, but then again, most of my friends aren’t into this field, so whenever I go “Screwless Configuration” they’re like “Uhh, Ok.” Pretty sure they’re going “There he goes again, talking about his computers again”.
I thought long and hard on what case to get. I needed something elegant just by itself. Something that looked like it came out of a Sci-Fi flick. Something out of this world, ya know? However, that was not my only requirement, being finicky me, I had plenty of other requirements. So what else? Well, I was planning to get this case Modded, so I wanted a case which I didn’t need to sell my Kidney and a lobe of my liver. It would feel a lot less painful to get it dismantled later, if it didn’t cost as much. Cosidering the need to dismantle, what were my other requirements? What about cooling? I’m definitely going Liquid so I must be careful with my selection. I quickly formed a checklist.
* Affordable
* Exotic Extraterrestrial look
* Easy to Dismantle
* Easy Configuration
* Good Airflow
* Easy to place a T-Line reservoir-less water cooling set.
* Lightweight case
I needed a T-line instead of a reservoir, and a lightweight case because I want to take the case to Lan Parties and it would not be possible with a reservoir (or at least easy) and if it’s too heavy, it’s just not possible.
So I went scouring the deepest recesses of the internet for a case that fit all my needs. Review after review after review was read, hoping to find the perfect case. Finally I managed to find something that fit all my requirements.
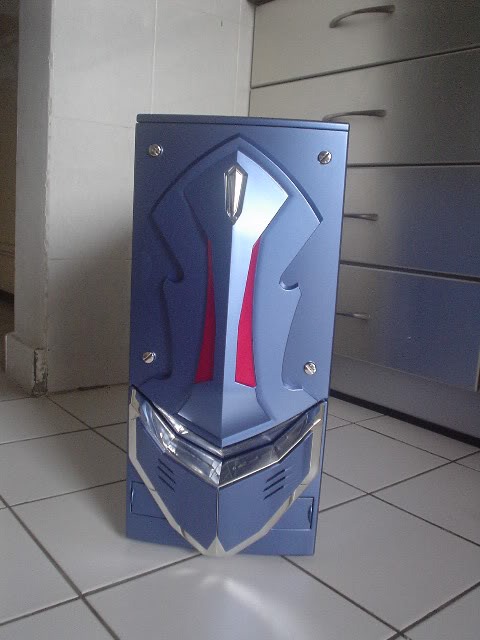
Introducing the NZXT Guardian!
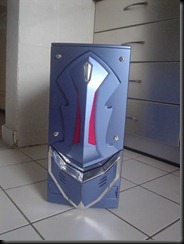
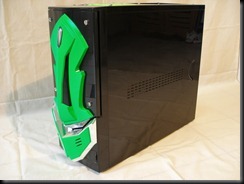
The front view. Bit of a Transformers look don’t you think?
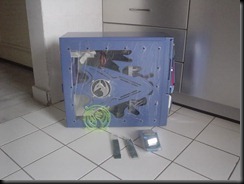
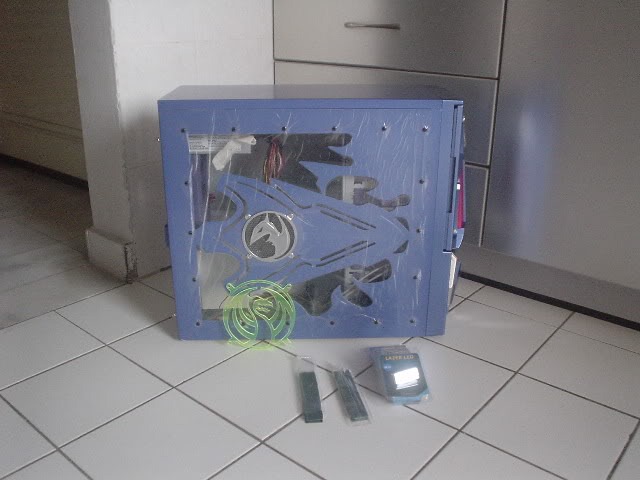
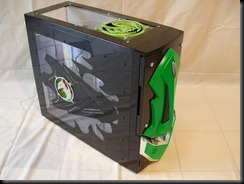
Side panel fan, large insides to fit a pump and reservoir. Free Power Supply? It was a decent power supply, but it’s not going to power my SLI rig sufficiently. I’ll just use it for something else 
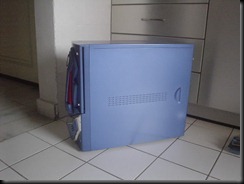
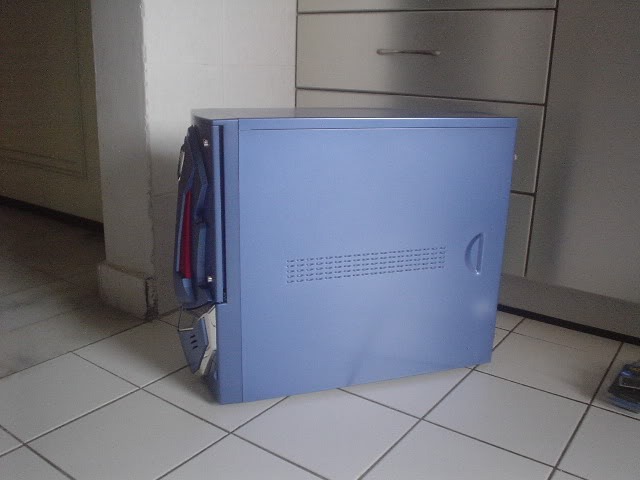
The other side, nothing too special, but notice the fins. A coincidence? Or NZXT engineers squeezing every bit of space to act as vents to help exhaust heat out.
You may be wondering, why didn’t I go for the black one? Because everything naturally looks good in black. The problem is, this case was selling like hot pancakes and it was almost impossible to get one, let alone one in black, which was completely sold out. I had to book one, and wait for the shop to receive their stock before I could collect it.
It was time to get down and dirty. I had plenty of plans for my case, but I lacked the skills and technical know how on how to do it on the most part. I naturally requested the assistance of Uncle Ian, who is pretty much a King when it comes to Dremels!
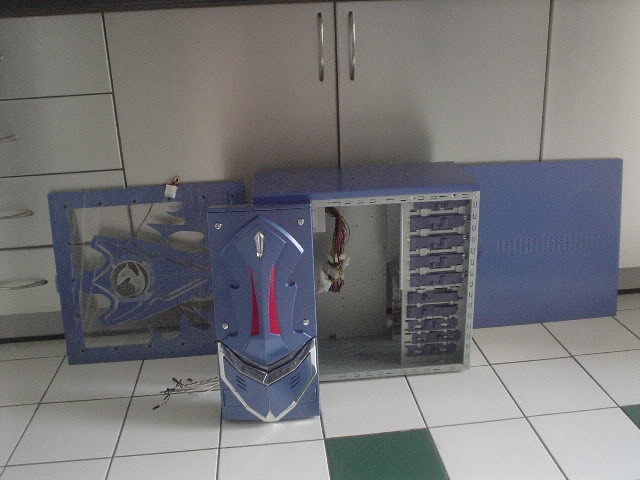
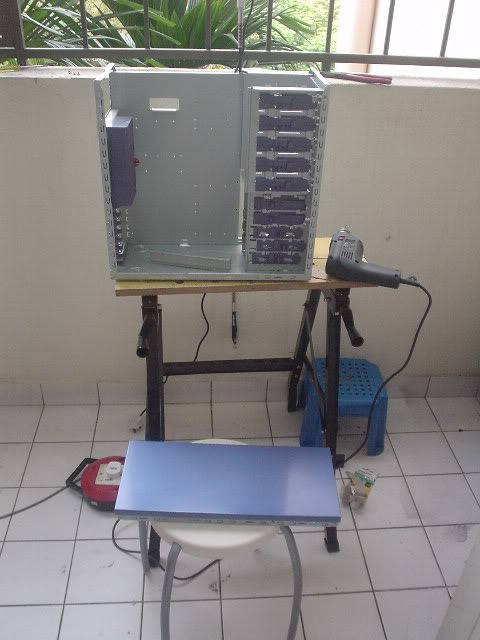
The first step was to completely dismantle the case and remove its parts.
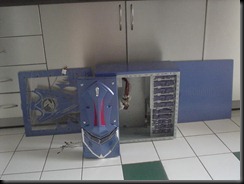
NZXT, being NZXT super secured the top panel so it does not latch off during a squall attack! There were 10 rivets holding it in place, as opposed to the mere 5-6 on any other second rate case!
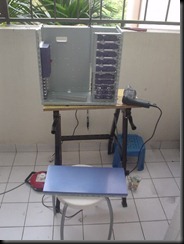
So why do we need the top panel off? Well I wanted the Liquid Cooling Radiator at the top, and I wanted view in the case visible from the top, so I needed it to be in Acrylic.
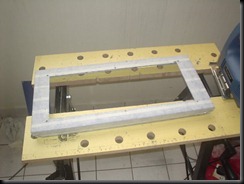
Off it goes! Measure twice, cut once kids.
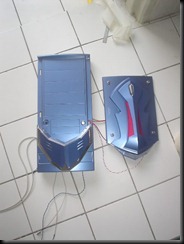
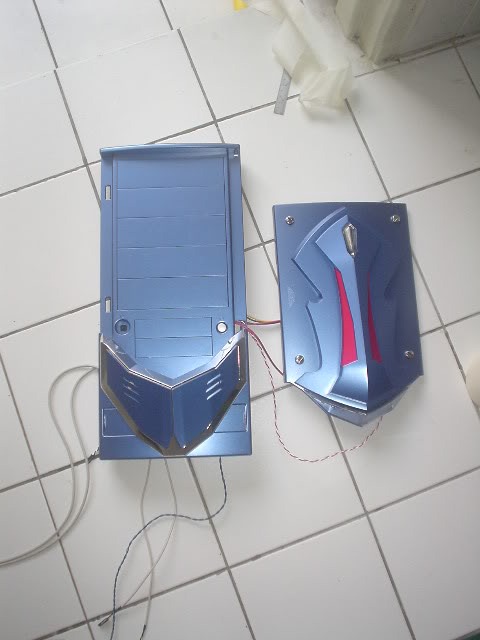
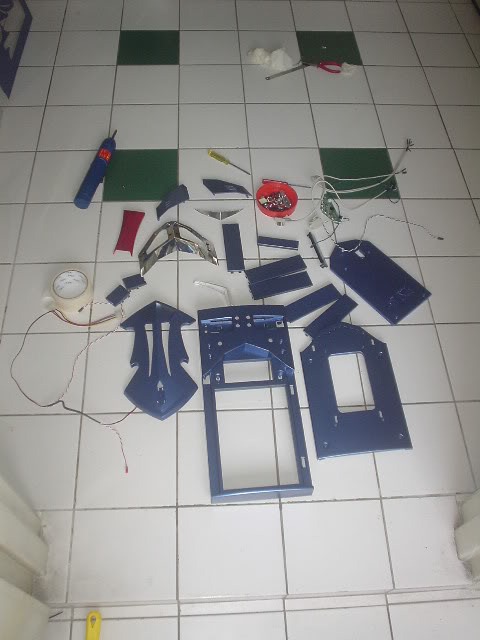
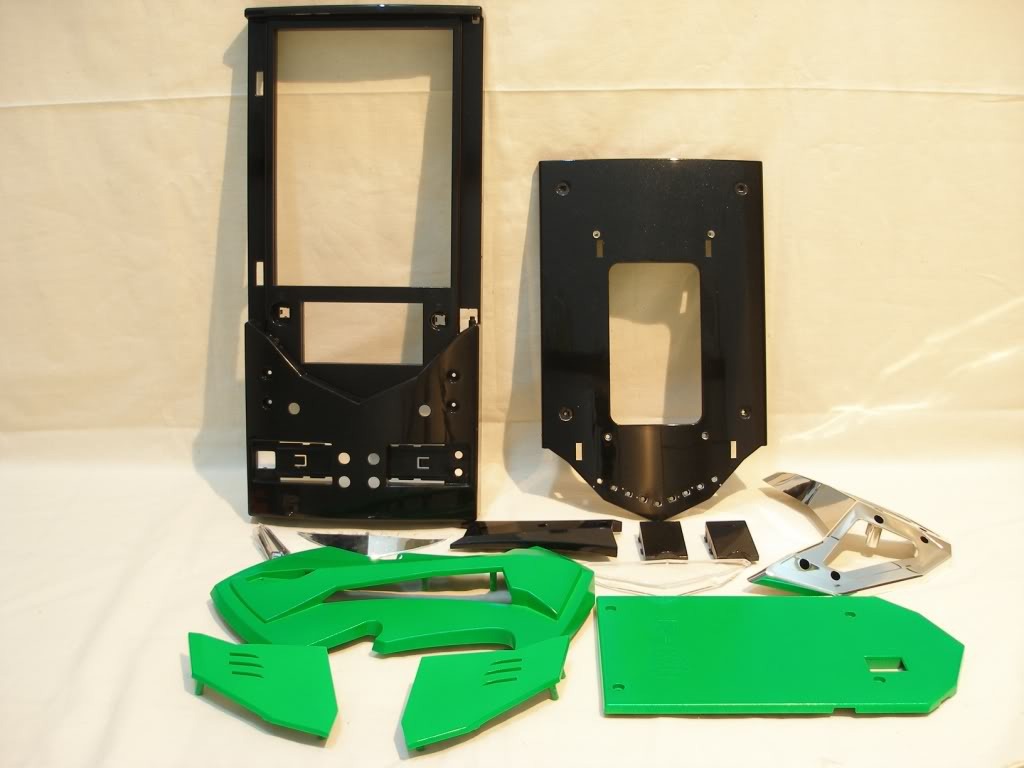
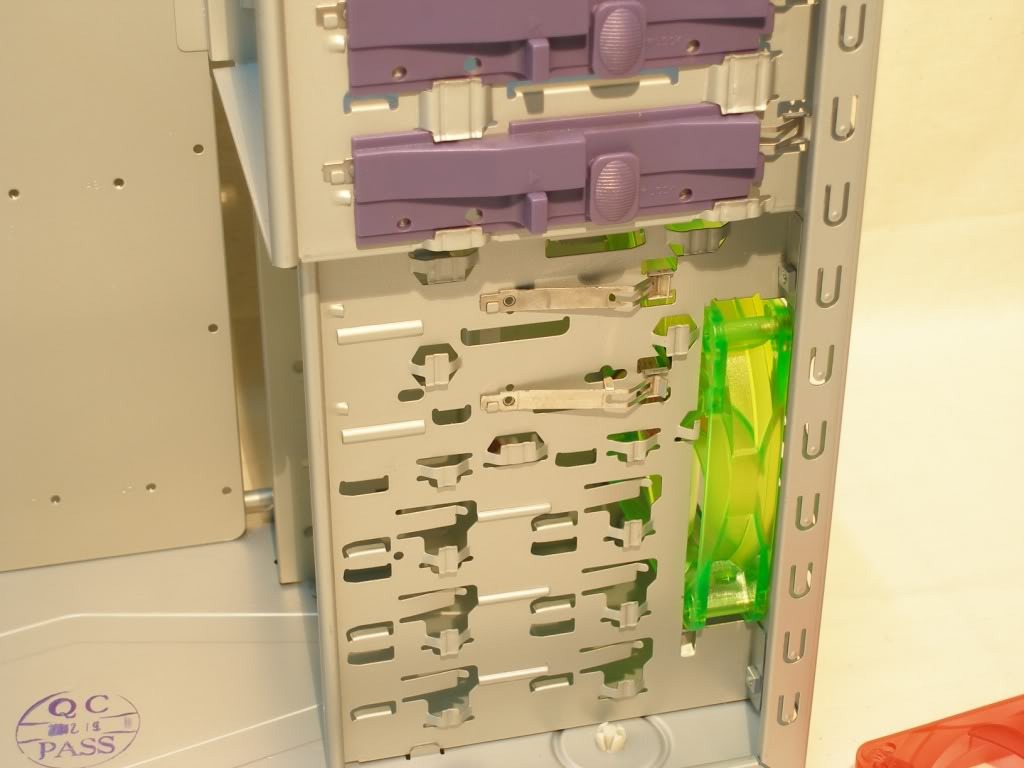
The face plate was also pretty complicated to remove. I’d imagine the sophistication is to ensure that no “noobs” try their hands at even taming this beast. When you dismantle all the pieces that make up the face plate, this is what you end up with!
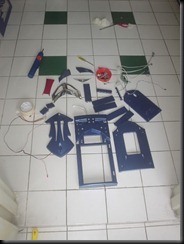
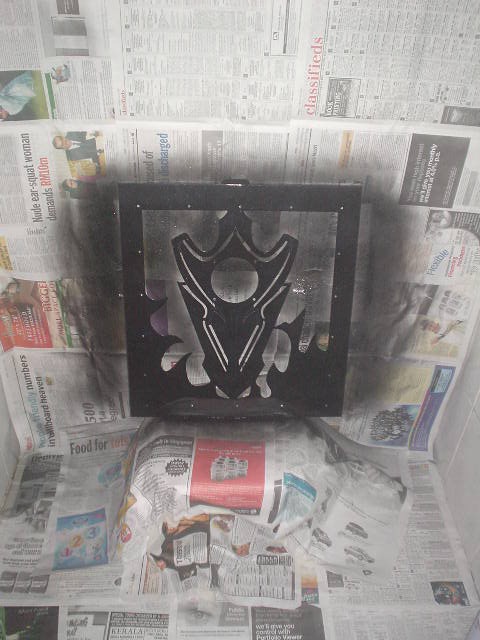
As you’re well aware off, I could not secure the black colored version of this case, and I really wanted it in black. Everyone knows Black is always better! That’s why the black gold is so expensive! So what’s the next best thing? Well, you paint it black of course!
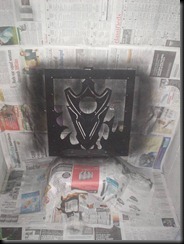
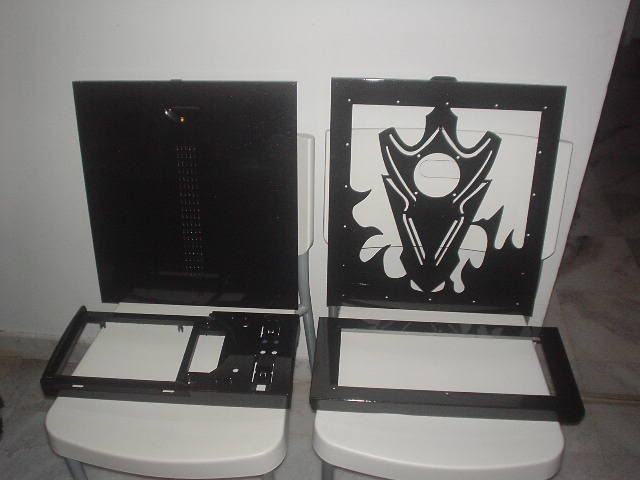
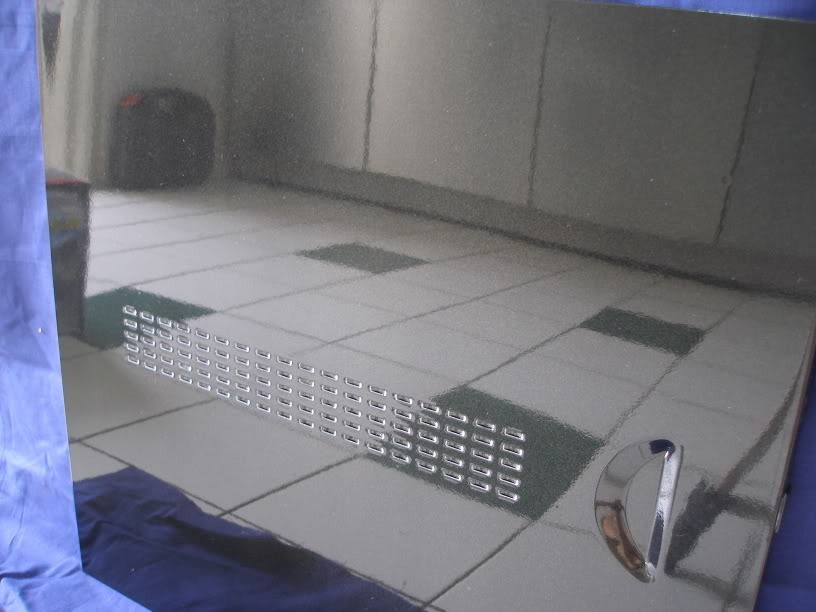
5 coats of Metallic Black and 3 coats of Clear Coat later, this is the end product.
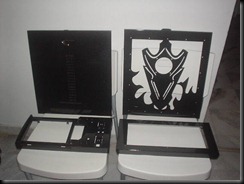
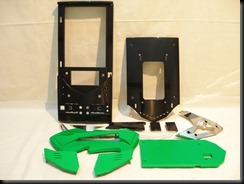
Everything had to be painted, including all the micro parts that make up the front panel. Having a black case is not sufficient. The only thing better than a metallic black case is one that has a mirror finish!
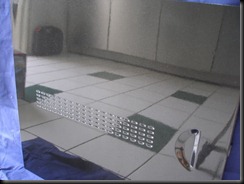
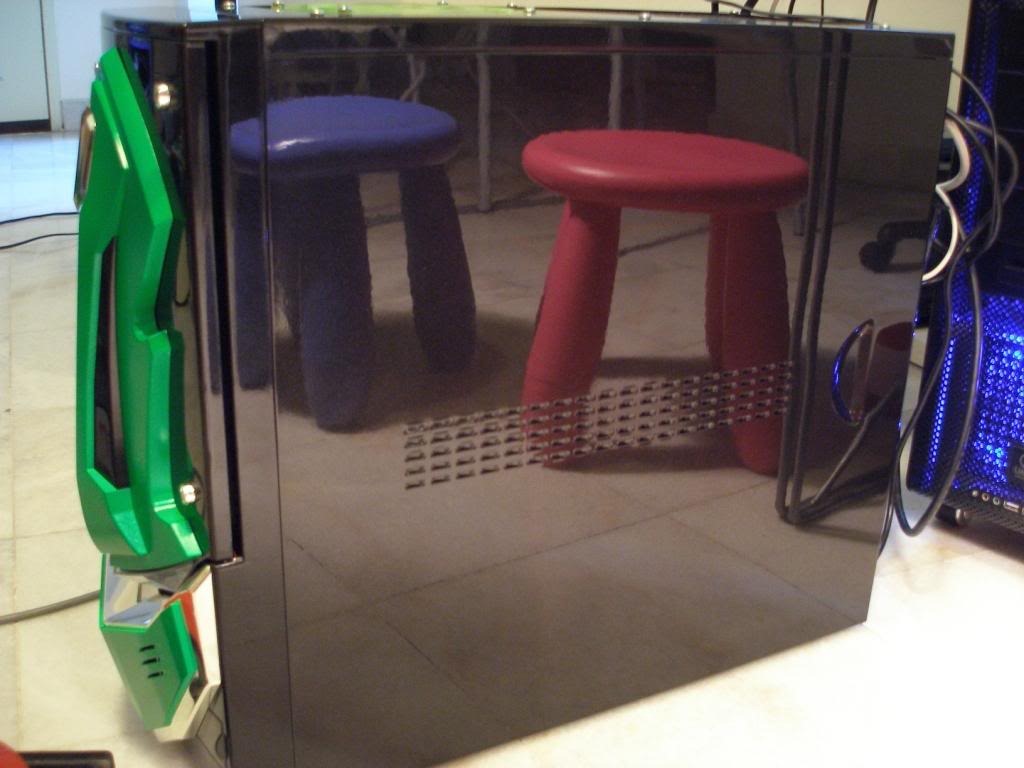
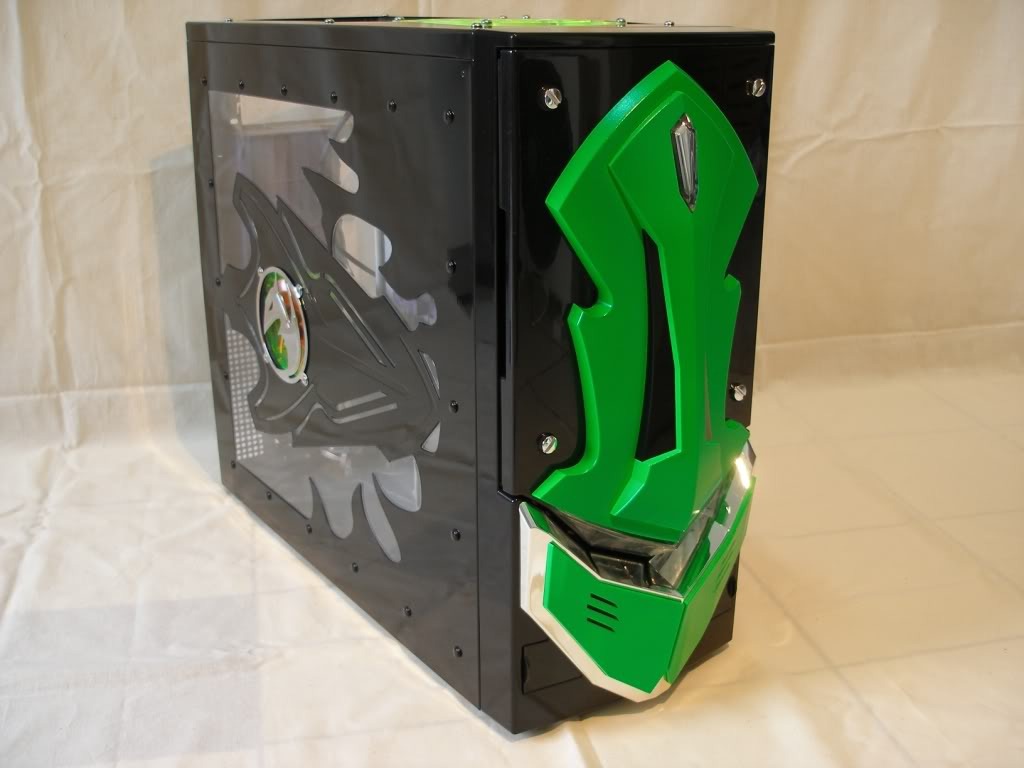
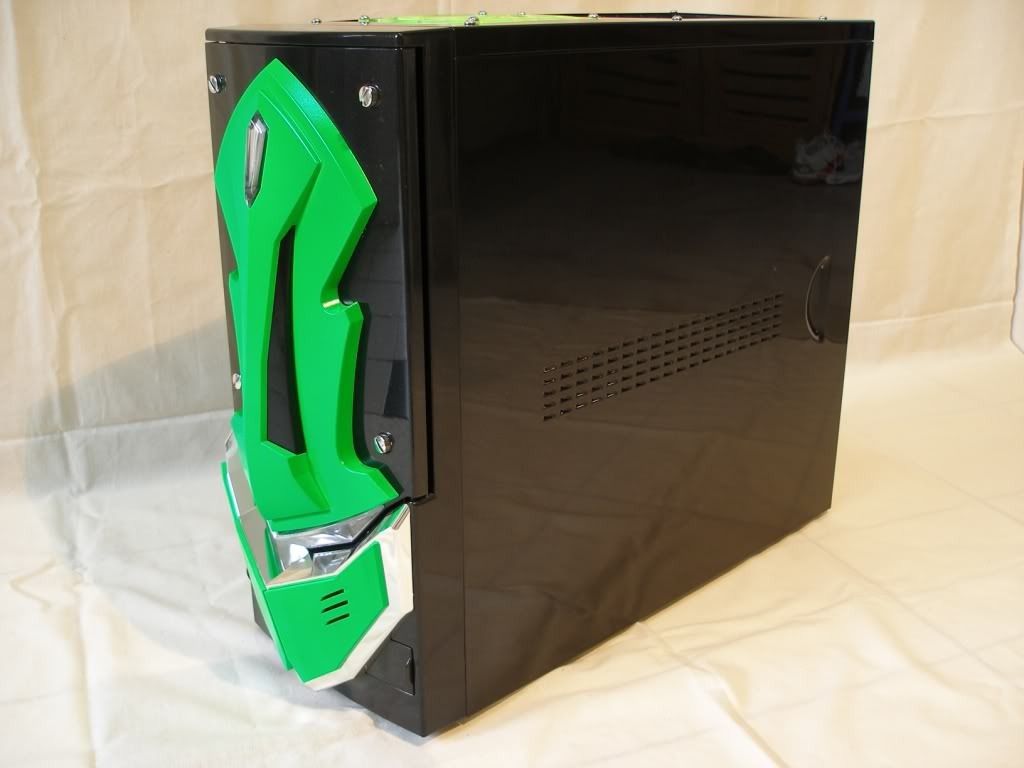
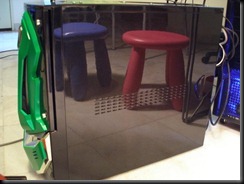
So here’s the Guardian after a complete paint re-haul. The faceplate is a mixture of Fluorescent Green and Metallic Black. The stools don’t come with the case!
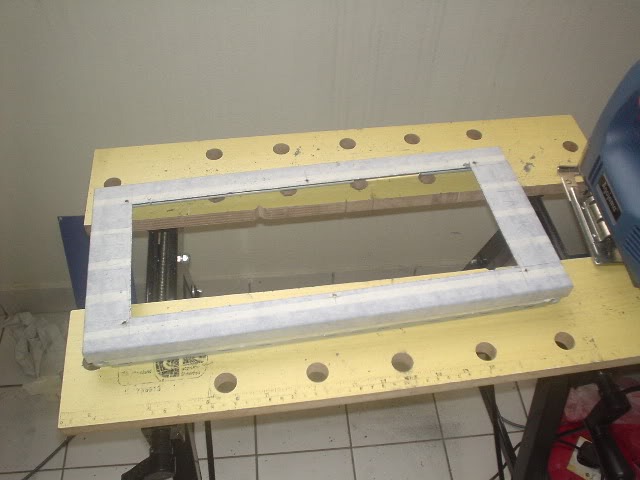
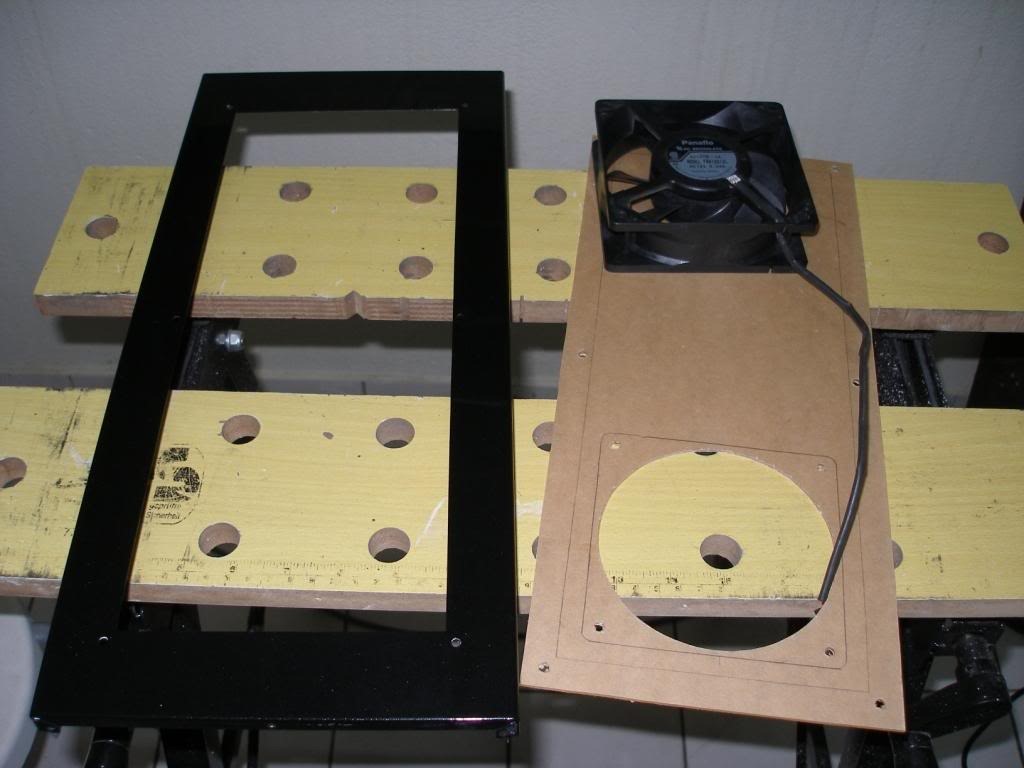
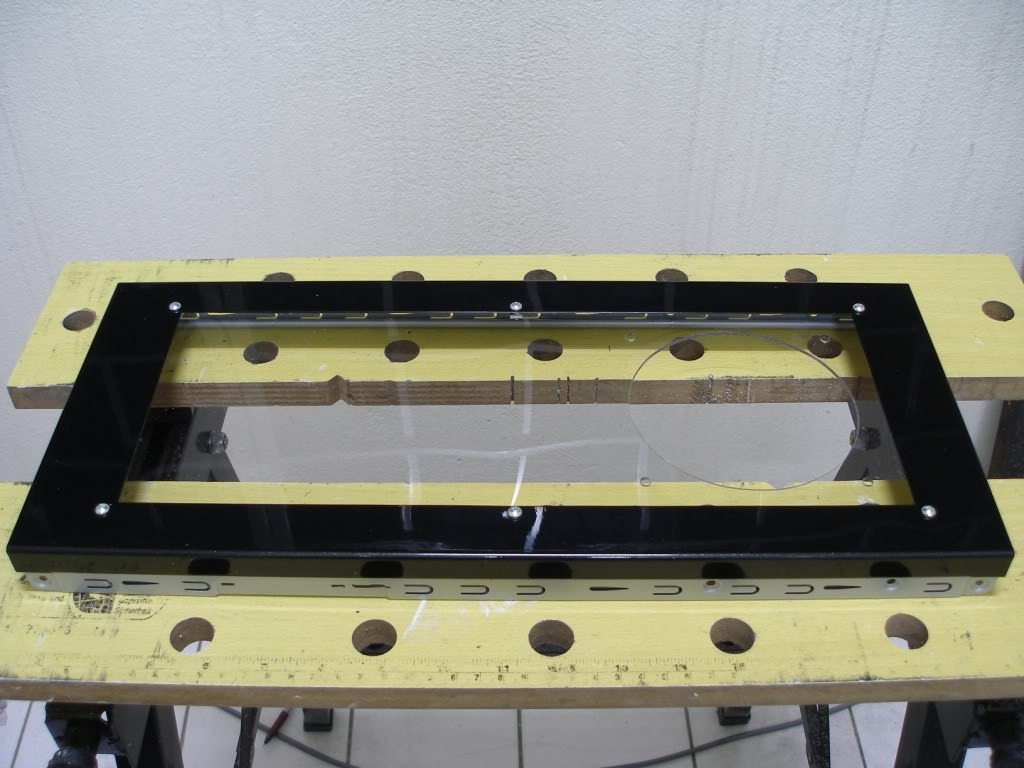
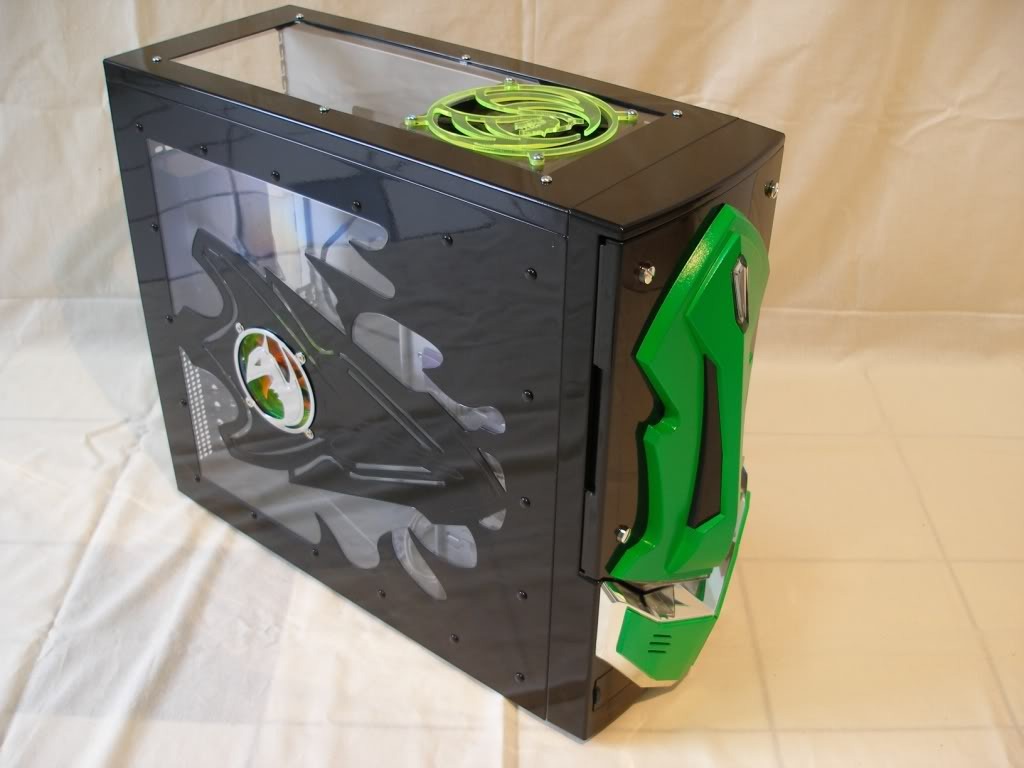
If you remember, I said earlier that the Radiator for the liquid cooling was to be mounted up top. To be able to view the case from up top, the top panel had to be cut and acrylic was to be used.
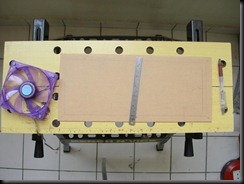
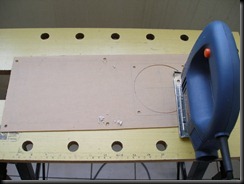
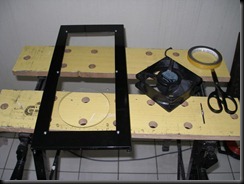
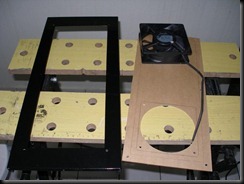
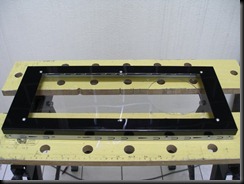
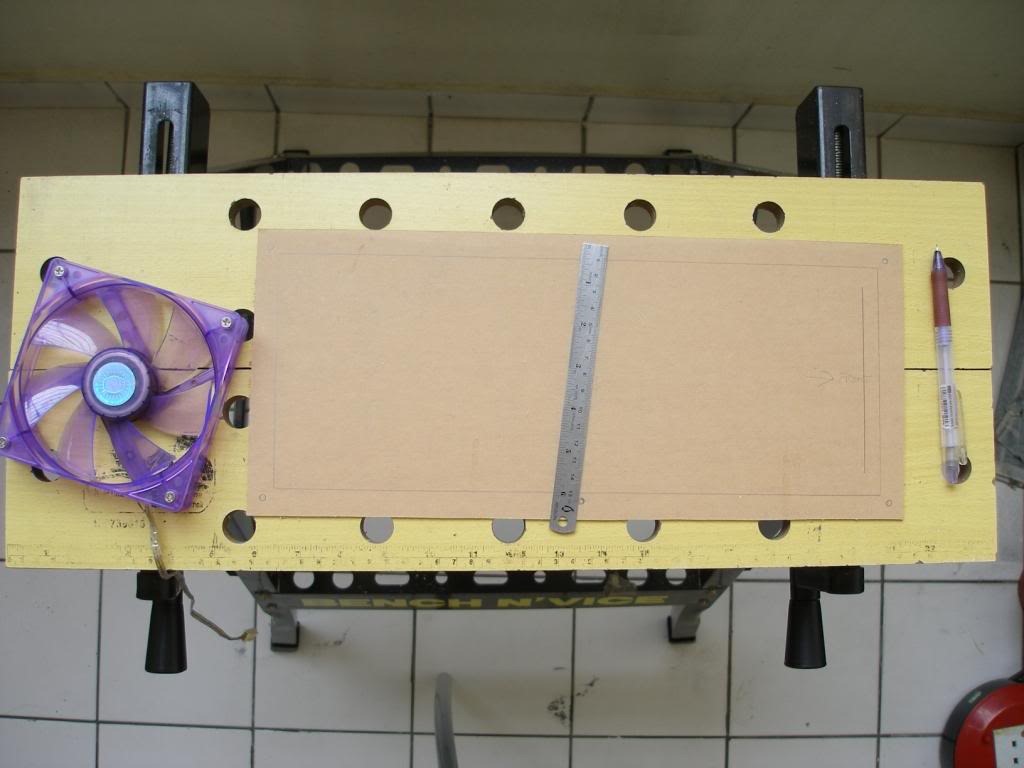
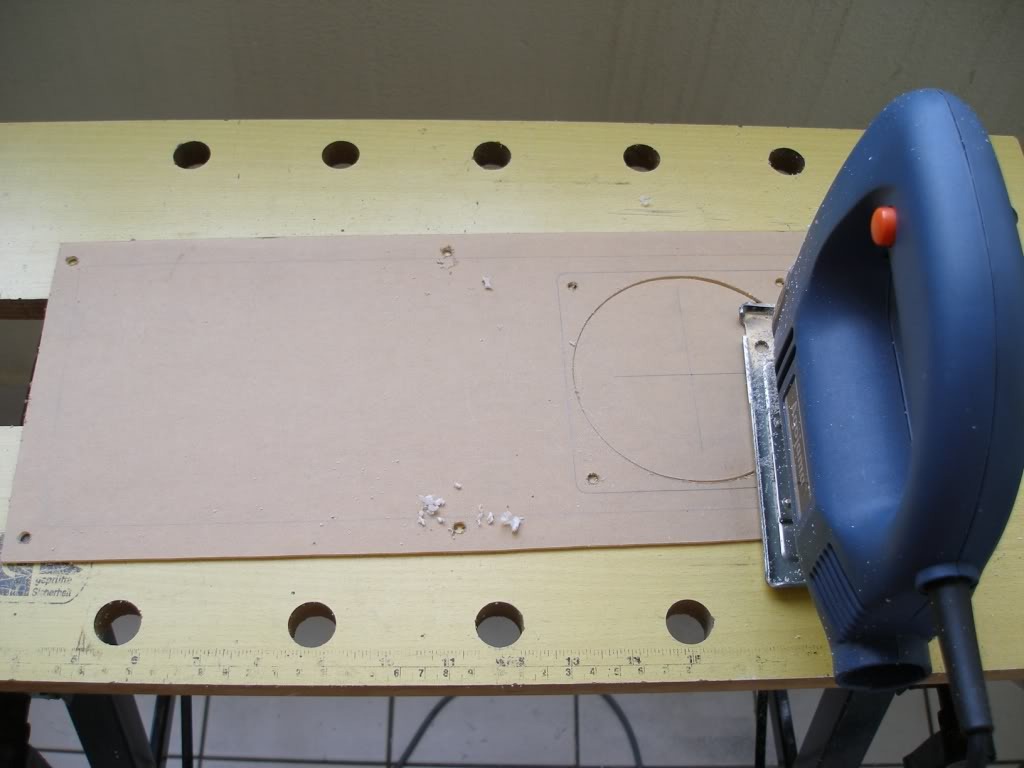
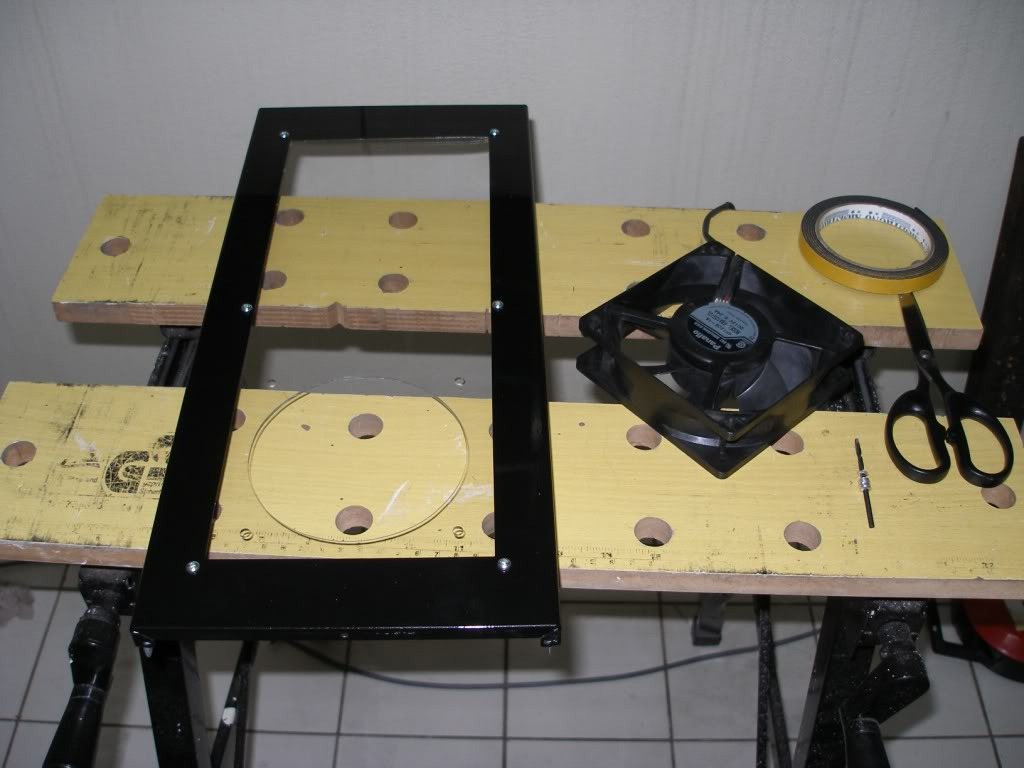
The first step was to drill a 120MM hole around the acrylic that was already measured to fit under the top panel. Later, it was a matter of riveting the acrylic under the top panel.
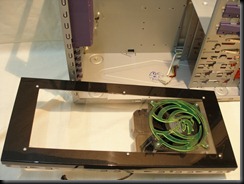
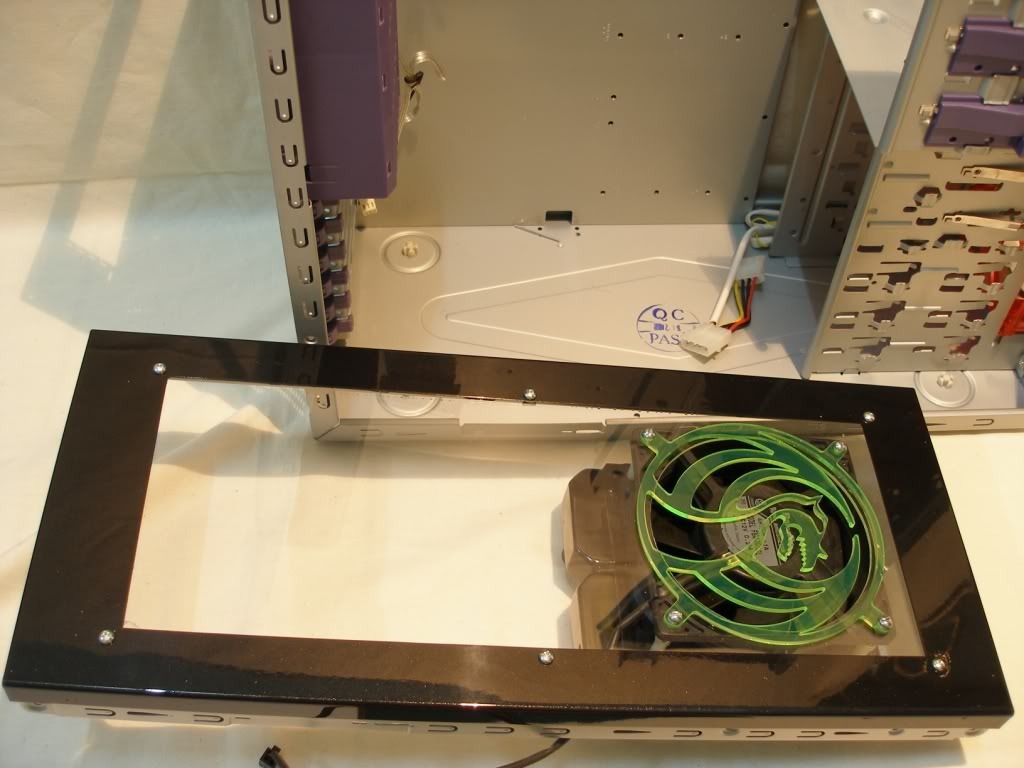
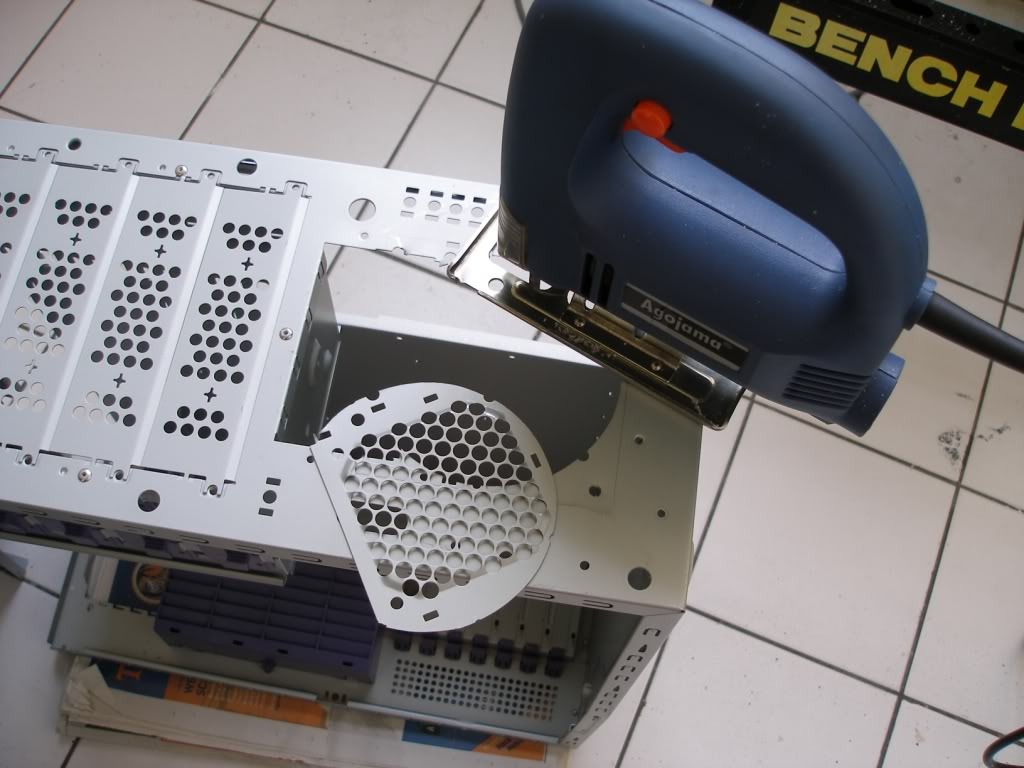
Mounting the Radiator under the top panel. This would help disperse the heat that is collected from the overclocked processor. I wanted to fit a 120MM fan in front of the case to act as an intake (to bring in cool air into the case). A bit of modification was necessary.
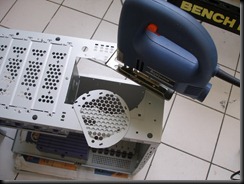
After the hole was successfully made, it was time to put in a 120MM fan in there!
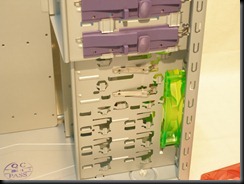
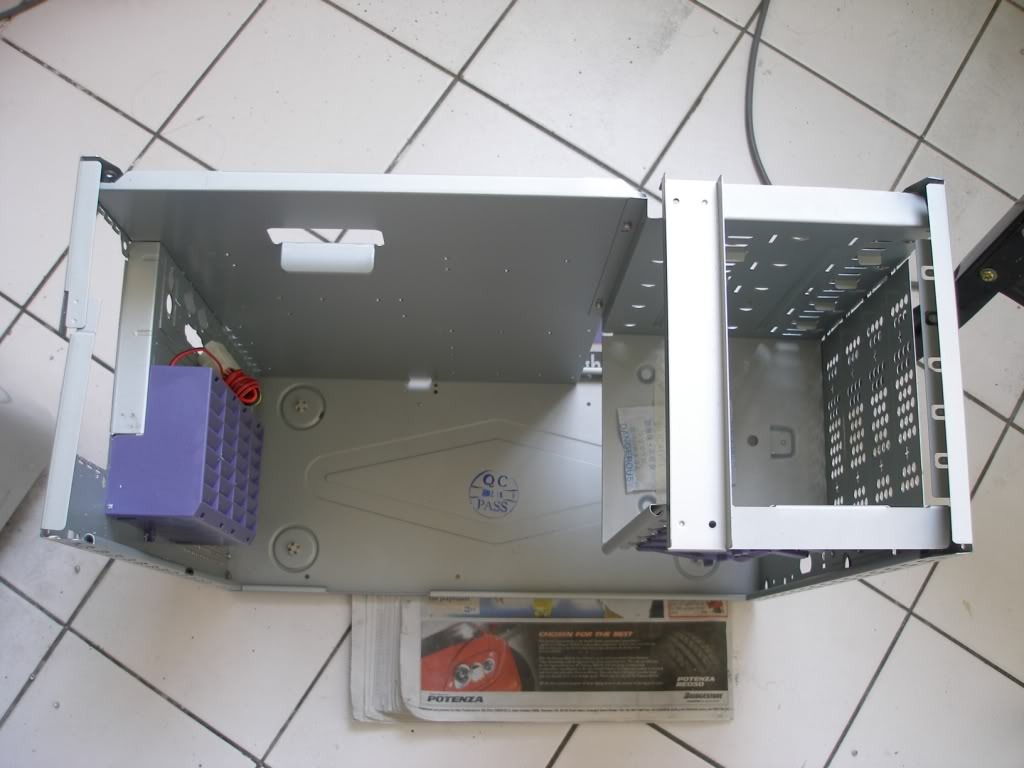
For the eagle-eyed viewers, note the QC PASS badge on the bottom panel of the case. This is the stringent level of quality control that NZXT cases have to pass in order to be deemed sale worthy!
Before the radiator can be mounted in, there was one thing that was getting in its way. There was a reinforcement bar on the chassis. It needed to go!
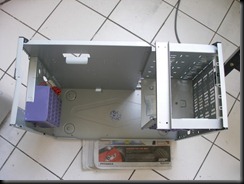
I was initially worried of removing the reinforcement bar would affect the stability of the chassis. Then again, I told myself, this is an NZXT case, it should be fine.
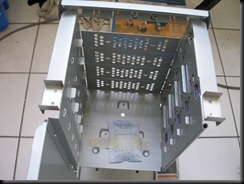
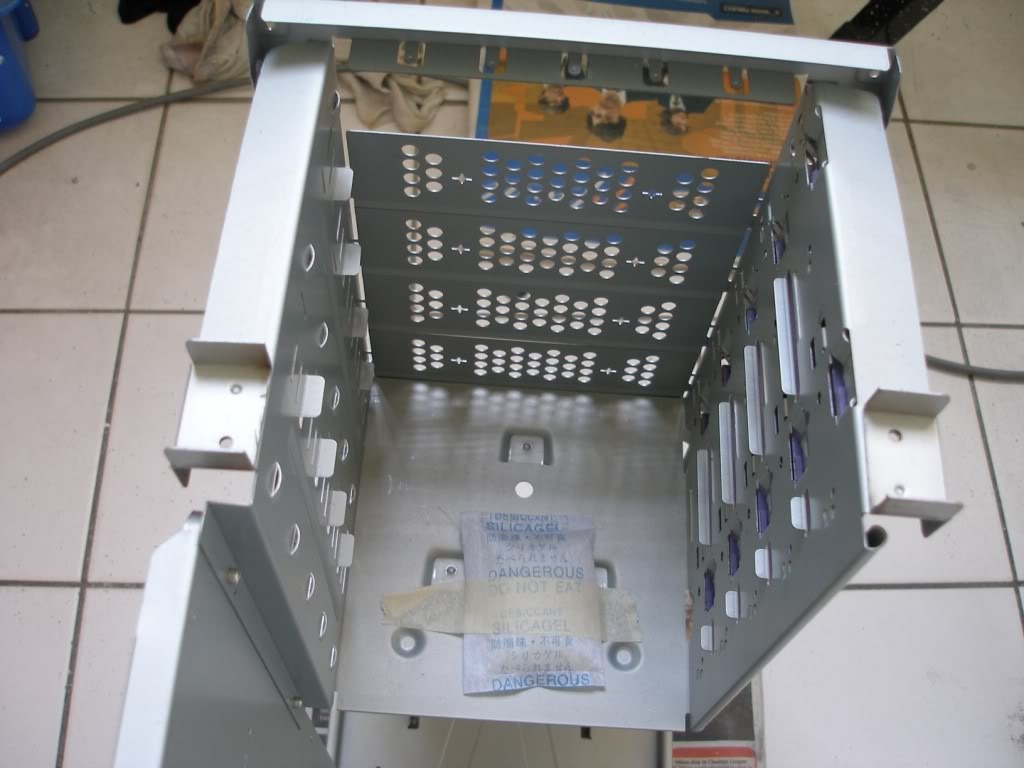
The reinforcement bar was cut off. Note the dangerous Silica gel that was included with the case. NZXT was kind enough to write the words DANGEROUS! DO NOT EAT! on it. Countless lives were saved from this simple act of kindness. Time to mount the radiator.
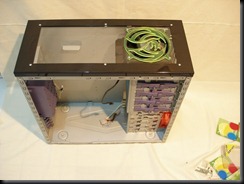
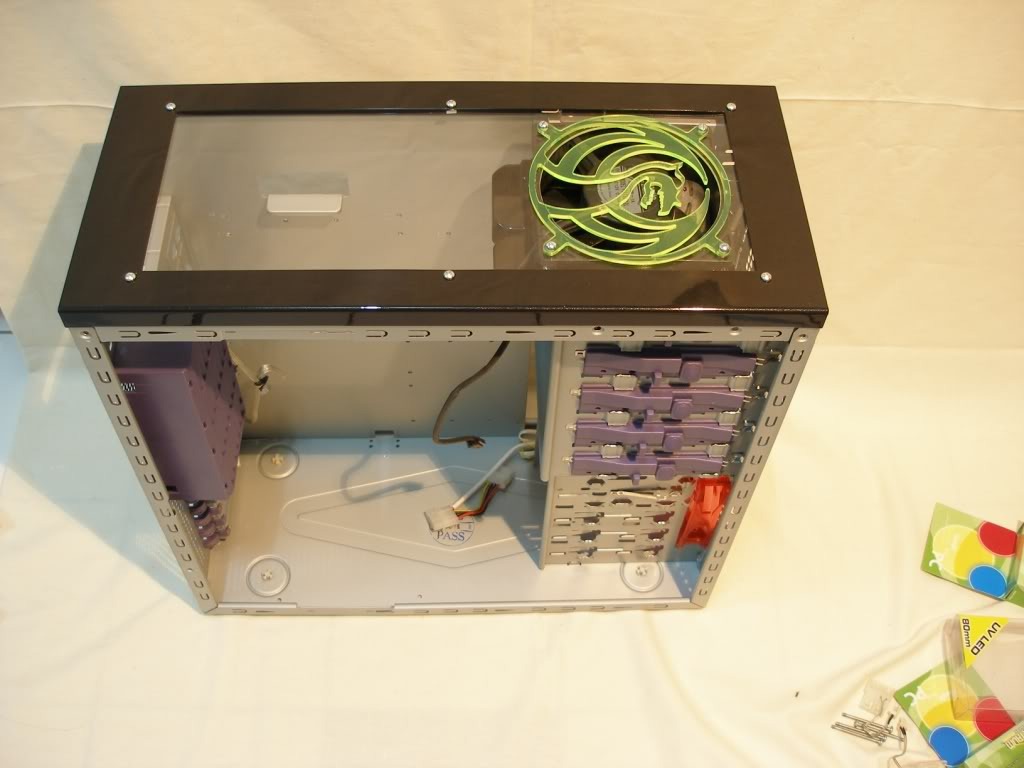
So this is how it looks with the radiator mounted and everything in place. I opted not to get the innards of the chassis painted, because I felt the chassis would be better left in its stock color.
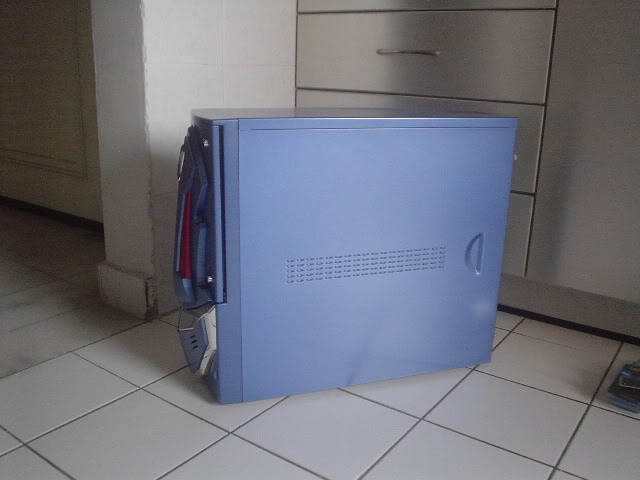
With most of the work done, all that is left to do is compare how the case looked at the beginning and how it looks now after some work done on it.
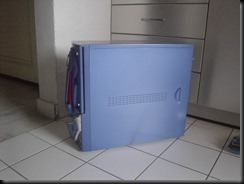
In the beginning there was an epic case, on the mind of computer enthusiasts everywhere.
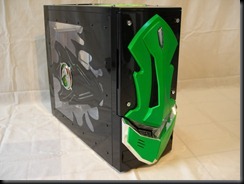
And then it found some steroids, and all hell was set loose!
At this point, it was time to fill it up with some internal organs. I was initially worried if there was enough space for everything I wanted in there. Besides the Liquid cooling setup, I am a junky for flashy pretty lights and UV. I had plenty of CCFL’s to go around, so space constraint was of great concern.
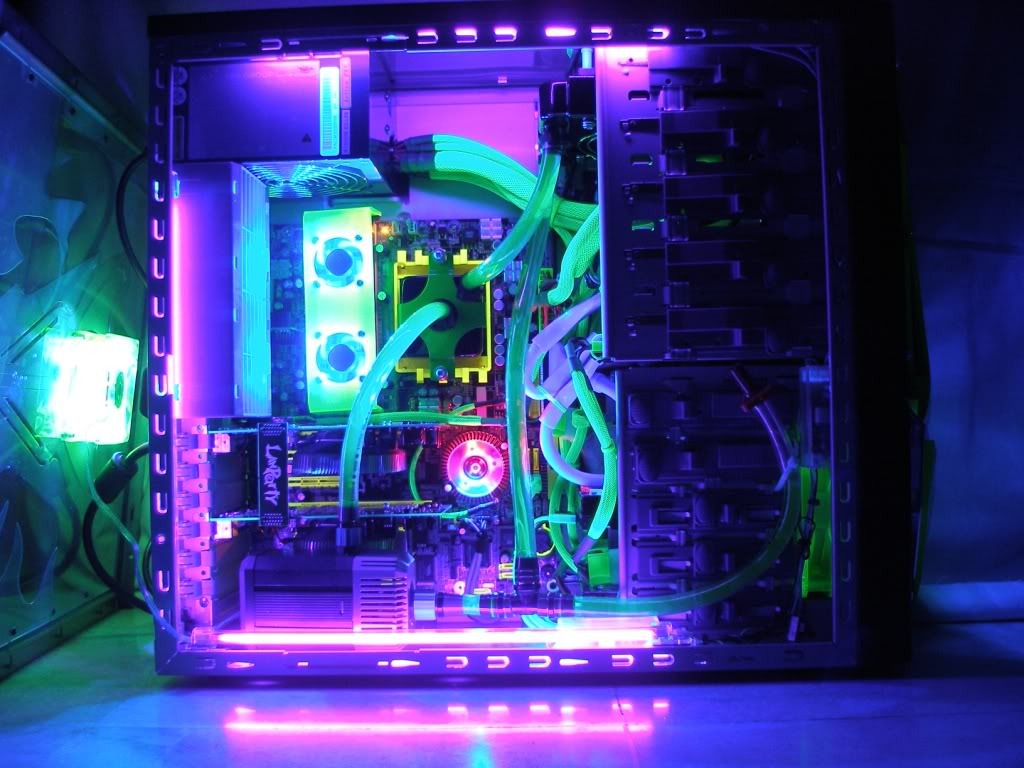
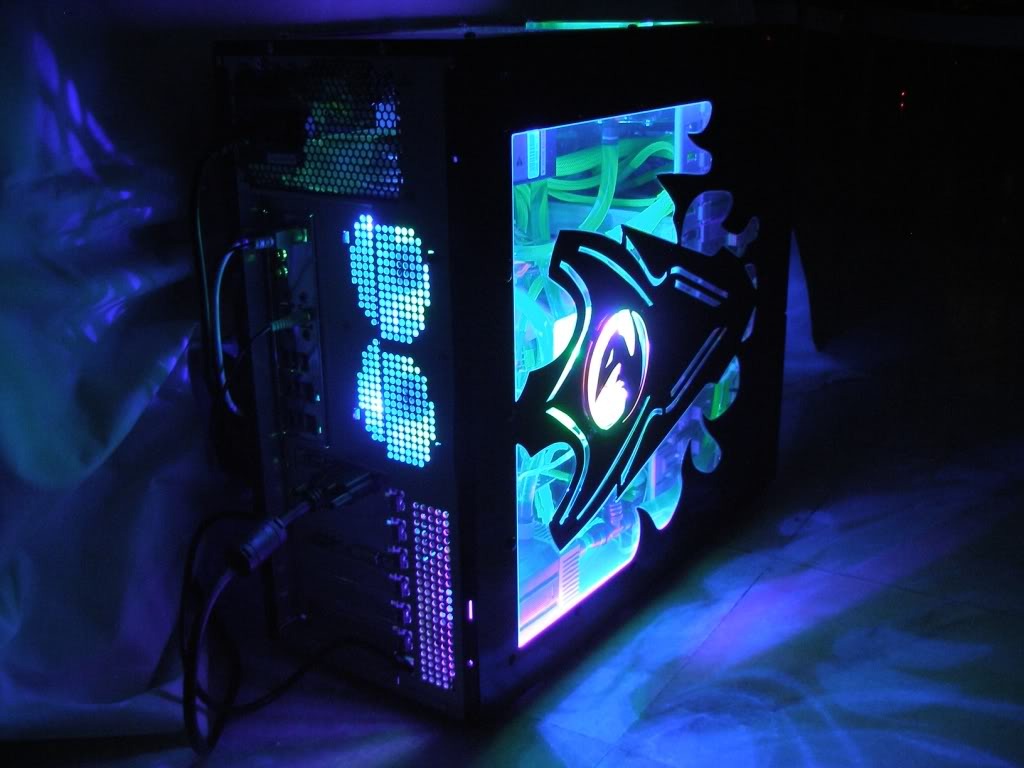
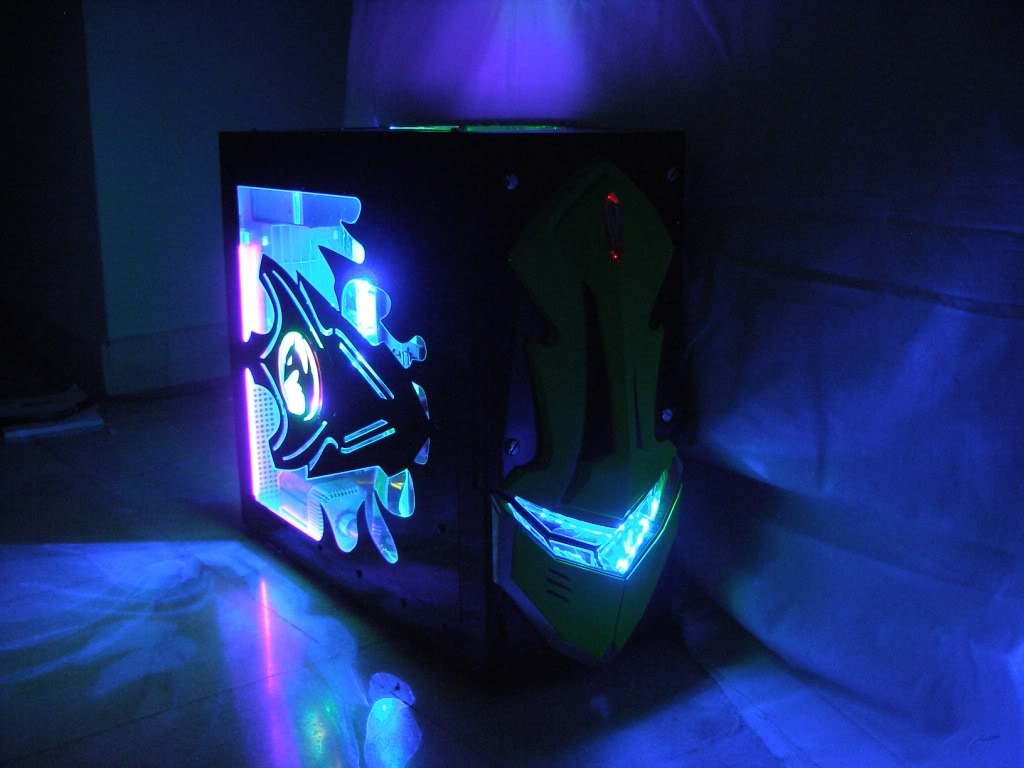
However, everything was put to rest when parts were being assembled inside the chassis. Everything fit perfectly, as if Everything in it’s place, and a Place for Everything! I have to give it up to NZXT because this simple case has so much potential! Here’s how It looks with the innards.
A view from the side.
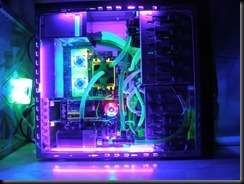
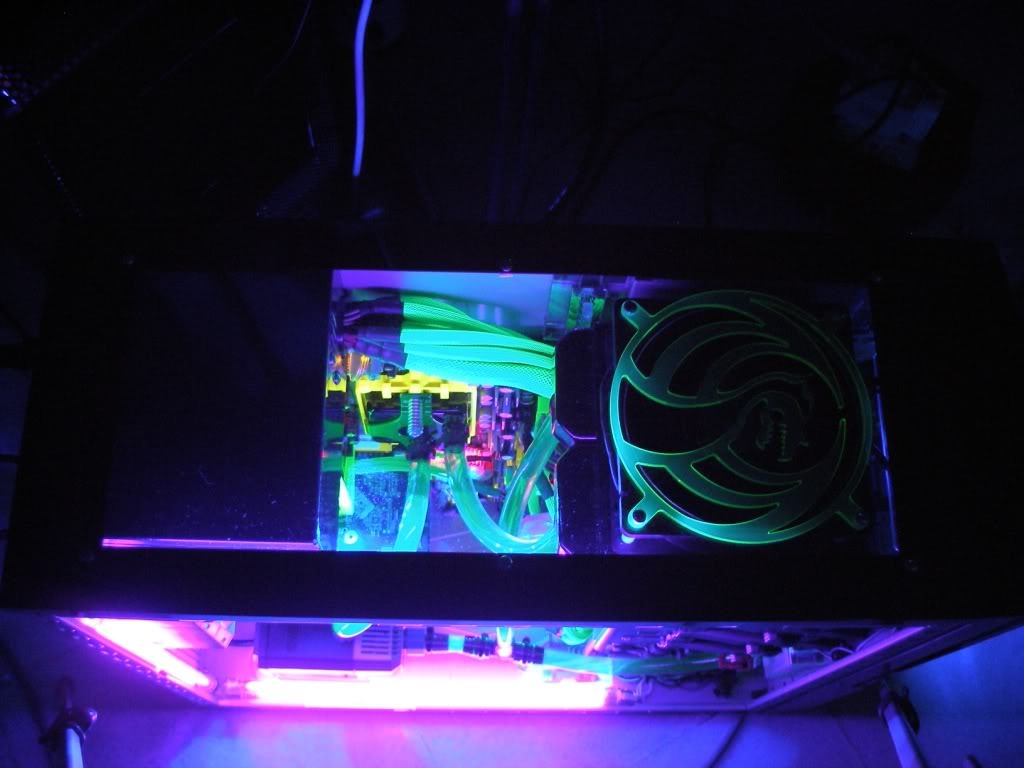
A view from the top.
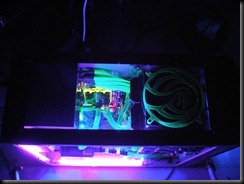
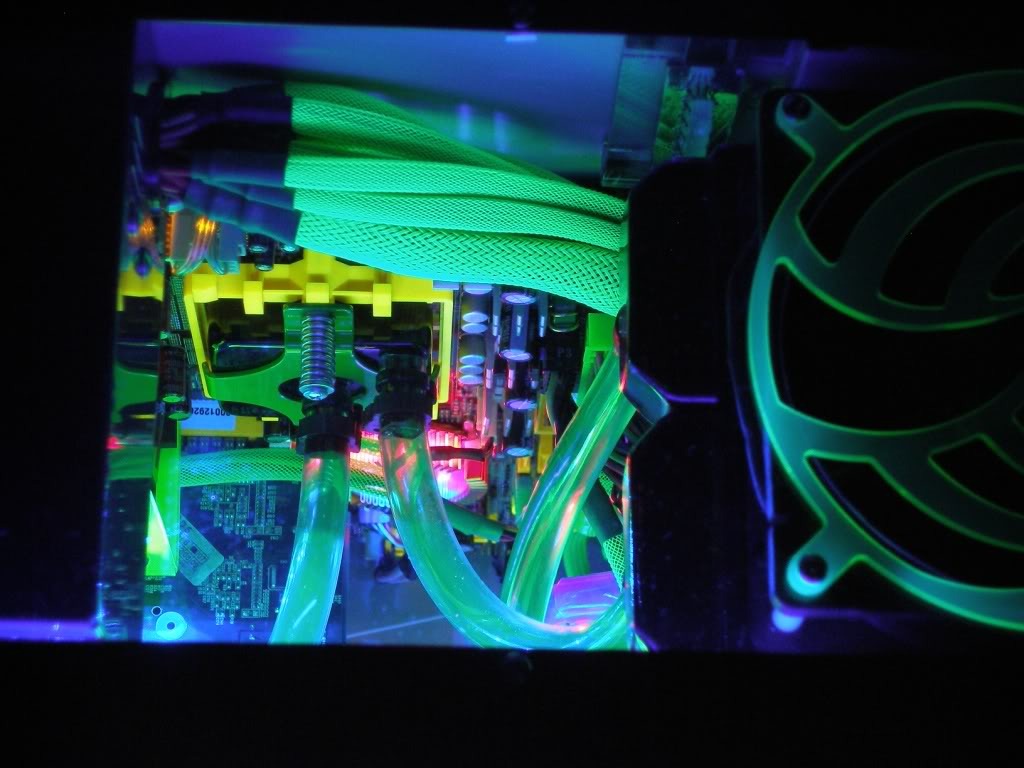
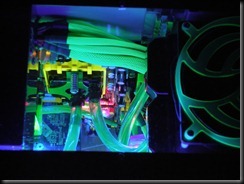
Close up view from the top.
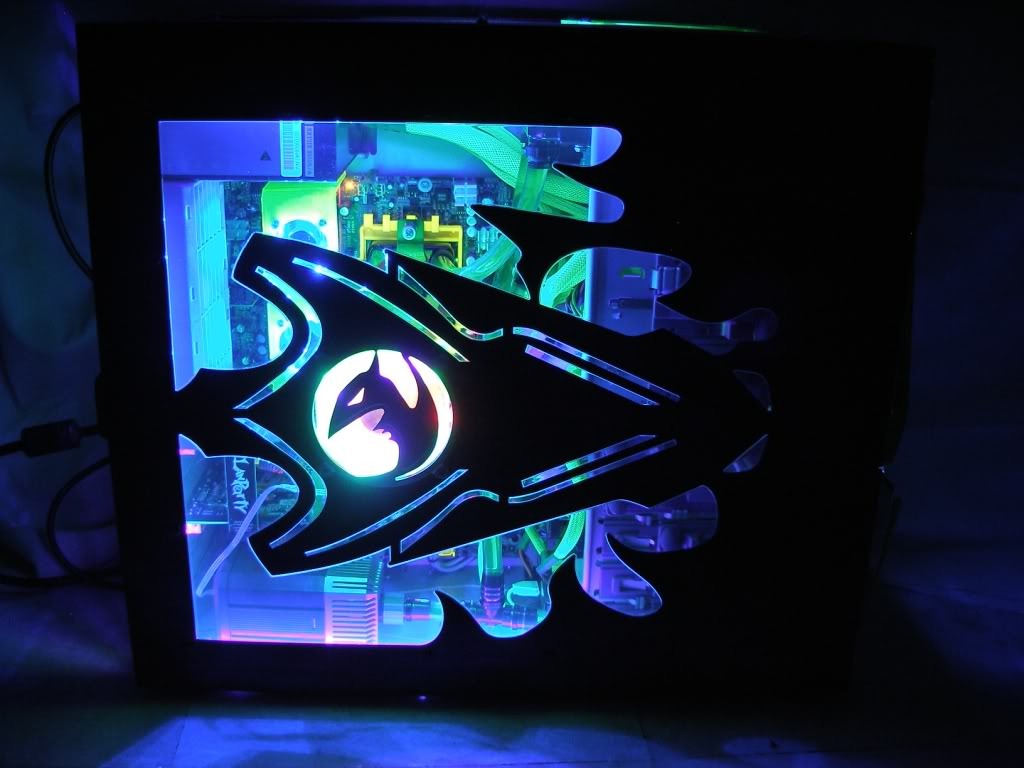
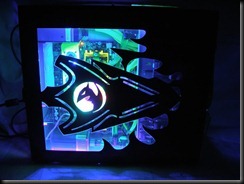
Side View
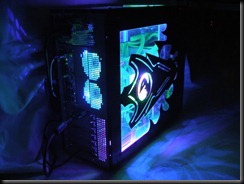
Rear View. Note that I changed the stock 80mm fan into a pair of LED Fans
One final great shot!
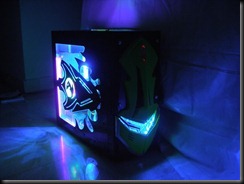
There is a reason why NZXT cases are called CRAFTED GAMING ARMOR. This case does not fail to deliver. It is everything it is advertised and even more. I suppose I could have done a review of the case itself, but I felt that I wanted to push this case to its fullest potential. I felt however, there is still a bit more I can push out of this case, because frankly, this is the case that keeps on giving!